How to Connect a Wireless Microphone to a Computer
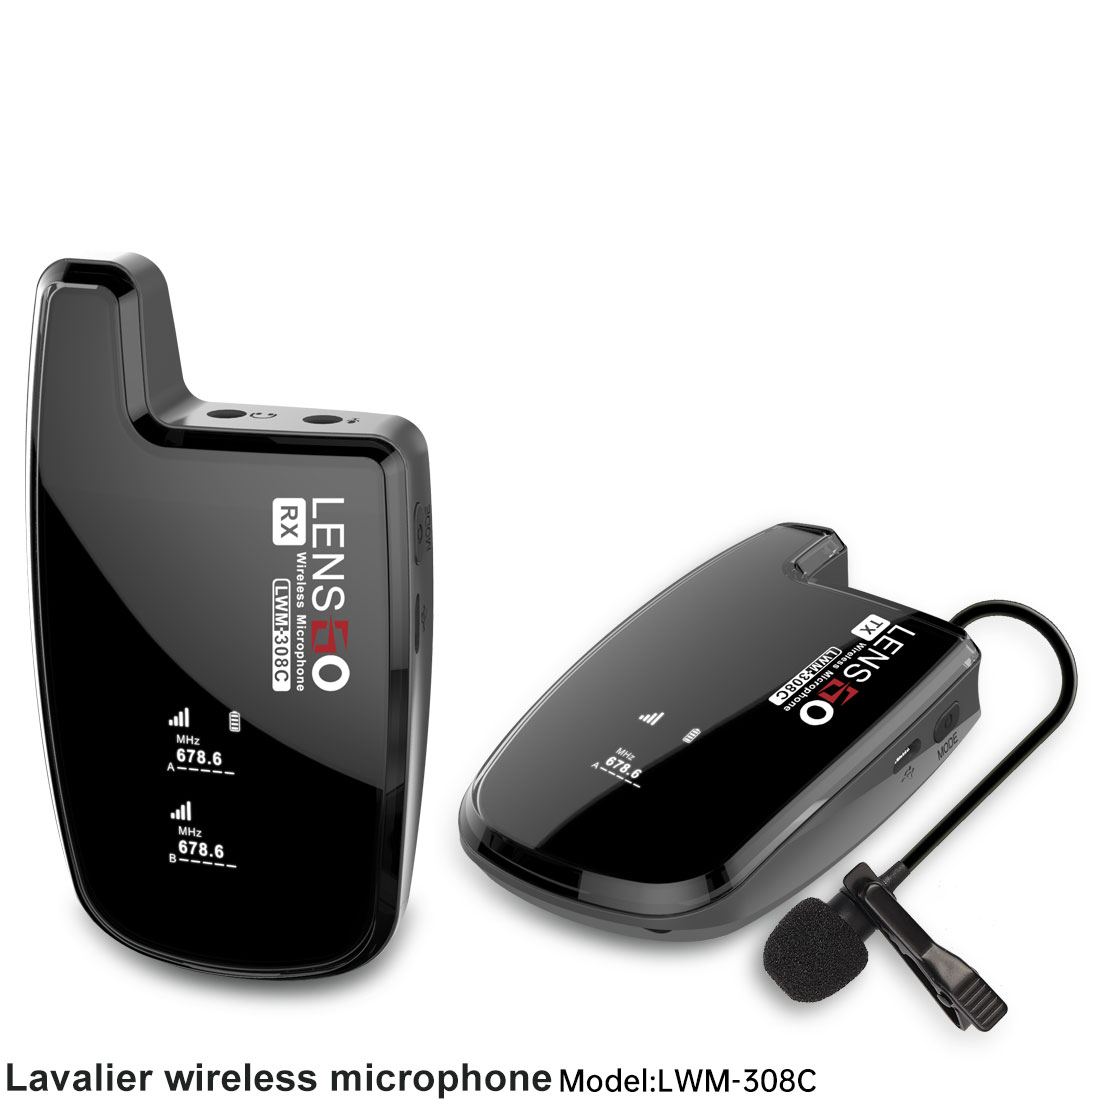
Adding a wireless microphone to a computer gives the operator mobility when using presentation software. A wireless microphone makes recording speeches, recording instruments, turning a computer into a wireless recording studio or using voice-recognition programs a convenient task. Anyone can connect a wireless microphone to a computer. The microphone comes in two parts. One is the wireless microphone with a built-in transmitter, and the other is the receiver that connects to the computer. The receiver picks up the transmitted sounds and sends them into the computer.
USB Wireless Microphone
Step 1
Connect the receiver to an open USB port on the computer. If the wireless microphone system is plug-and-play, the computer will display a little message bubble at the bottom of the screen saying, "New hardware is installing." If your microphone came with an install CD, insert the CD, and follow the instructions that appear on the screen. Some programs require restarting the computer. The computer will tell you at the end of loading the software if it needs to restart.
Step 2
Click the "Start" icon. Then, click "Programs," "Accessories," "Entertainment" and "Sound recorder." Look for a switch on the microphone. When the sound recorder program opens, make sure the microphone switch is in the "On" position. Some models do not have a switch. Turn on the receiver switch.
Step 3
Click on the red button on the sound recorder. Start talking into the microphone. If the green flat line turns into a wavy line, the microphone works correctly.
