How to Connect the Wireless Microphone 348C to a Computer or Laptop
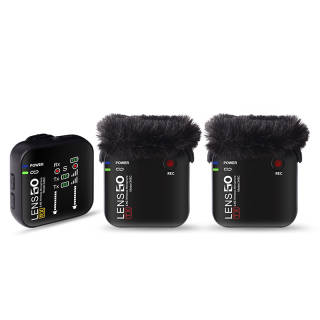
The Wireless Microphone 348C is the ultimate microphone for recording high-quality wireless audio to a camera or smartphone, but one of the key features that makes it even more versatile is the ability to record directly to a computer or laptop.
The USB-C input on the receiver is used for charging, but it is also a digital audio output, allowing you to connect it to a computer and use it as a wireless USB microphone. This makes the Wireless Microphone 348C not only ideal for run-and-gun filmmaking, but also for recording video directly to your computer – great for vlogging, filming classes, lectures or tutorials, or even making Zoom calls.
Below we’ll take a look at how easy it is to connect the Wireless Microphone 348C to a computer or laptop, and some tips and tricks for getting the best audio possible.

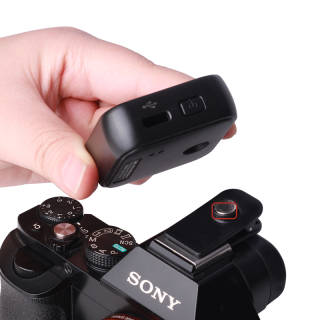
Connecting the Wireless Microphone 348C to a computer or laptop is super simple. If your computer has USB-A ports, simply plug the receiver into any input using one of the supplied SC20 USB-A to USB-C cables, which are also used to charge Wireless Microphone 348C
If your computer only has USB-C ports, you will need to use a USB-C to USB-C cable, such as the RØDE SC16.
Once you have connected your receiver to your computer, turn it on and pair one of the transmitters. Next, you will need to select the Wireless Microphone 348C as your computer’s audio source. Simply access your sound settings or preferences and select' Wireless Microphone 348C RX’ as the input device. Now speak into the transmitter’s in-built microphone – you should see the audio level meter on your computer’s audio preferences screen jumping up and down (or left to right), indicating that your computer is receiving audio from the Wireless Microphone 348C
That’s it, you’re ready to record!
